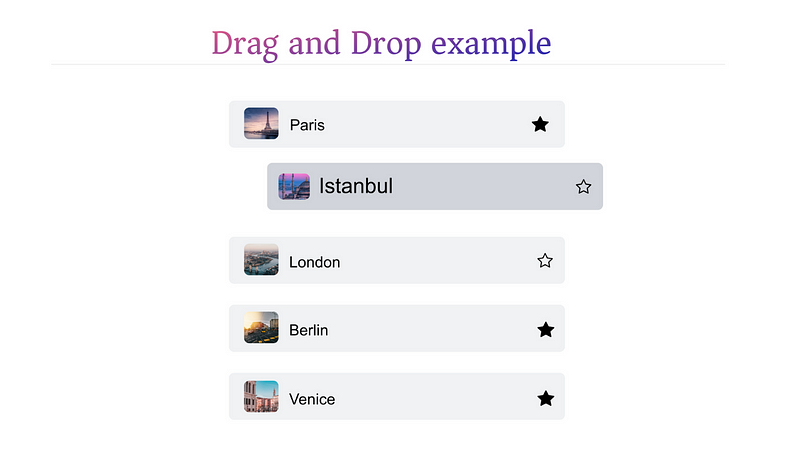
Implementing Drag-and-Drop Functionality in 5 Simple Steps
Written on
Introduction to Drag-and-Drop Features
In this guide, we will walk you through five straightforward steps to incorporate a drag-and-drop feature into your web application.

Overview of the Process
If you prefer a visual explanation, feel free to check out the accompanying video. In this session, we will implement the fundamental drag-and-drop functionality in just five steps.
Step 1: Installing the Necessary npm Package
The first step is quite simple. Head to the npm website, locate the react-beautiful-dnd package, and install it into your application using the command:
yarn add react-beautiful-dnd
Step 2: Adding the DragDropContext
Next, you will need to wrap the parent component where you want the drag-and-drop functionality with a DragDropContext provider. It's not necessary to wrap it in app.js; instead, do this directly in the component that will utilize the drag-and-drop feature.
Step 3: Wrapping Drop and Drag Providers
Now, let's segregate the components for drag and drop. For instance, if you have a list of users where dropping will occur, wrap that list with the DropProvider. Each user component, which can be dragged, should be wrapped with the DragProvider.
Step 4: Rendering Children with Props
Within the DropProvider, you will render the drop component using a callback method. This method will also pass essential props, such as ref and droppableProps, which are provided through the callback.
Similarly, within the DragProvider, each user component will be rendered using the JavaScript map method. Again, utilize the callback method to retrieve the props and distribute them to each draggable component, just like we did for the DropProvider.
Step 5: Managing State and Saving Data
The final step involves handling the drag-and-drop final states and saving them. This process is straightforward; you'll create a state to store the final order of users, subsequently rendering them based on this state.
The state will be an array of objects, and the DragDropProvider has an onDragEnd prop that will manage the drag-and-drop states and save the data accordingly.
Pass the handleDragDrop method to the onDragEnd prop of the DragDropProvider. This method will adjust the order of the dragged object and place it in the position of the element where it was dropped. For example, if you move an element from the last index to the second index, you'll swap the last element with the one at the second index, shifting the other elements accordingly.
Conclusion
That's it! You now have the essential five steps to implement drag-and-drop functionality. For further reference, I am sharing the final code repository. Thank you for following along, and until next time, have a great day!
The second video titled "How to Create Drag and Drop Activities with Google Slides" provides additional insights into creating drag-and-drop features in different contexts, which could be beneficial for your projects.