Setting Up Your Own Self-Hosted Azure Pipeline Agent
Written on
Creating a Self-Hosted Azure Pipeline Agent
In this guide, we will explore how to address a common error encountered when running an Azure DevOps pipeline and how to set up your own agent to facilitate the execution of your pipeline.
Understanding the Pipeline Execution Error
When attempting to run a pipeline, you may encounter an error. There are two primary solutions to this issue:
- Request a parallelism grant by following the link provided in the error log.
- Set up your own agent and configure your local machine to act as a server by following the instructions detailed in this article.
If you find this guide helpful, please consider following my account for more updates.
Steps to Create Your Agent
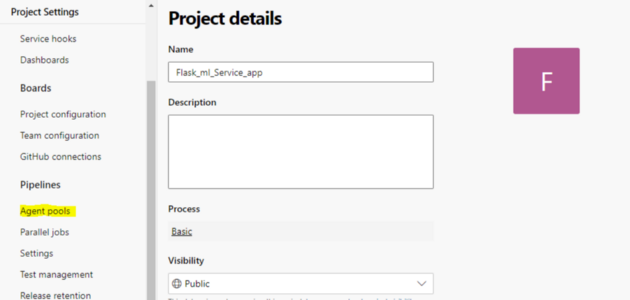
To begin, navigate to your project in Azure DevOps. Click on Project Settings and select Agent Pools from the left sidebar.
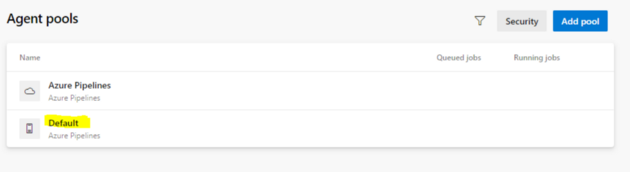
Next, choose Default from the options available.

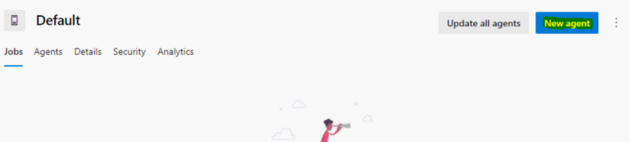
Now, let’s proceed to create your agent.
A pop-up window will appear. Select your operating system, download the agent, and follow the subsequent steps. In this instance, I selected Windows and opened the command shell—ensure you run it as an administrator.
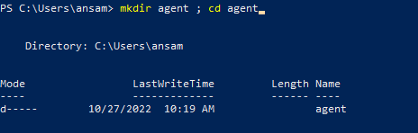
Create a new directory named agent and navigate to it.
Next, input the path of the agent you have just downloaded.
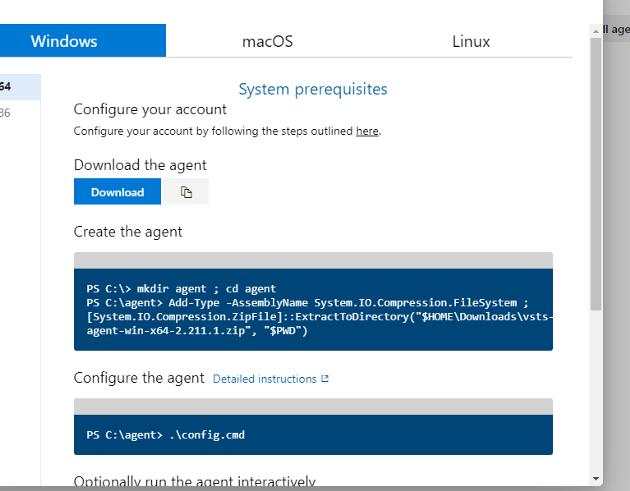
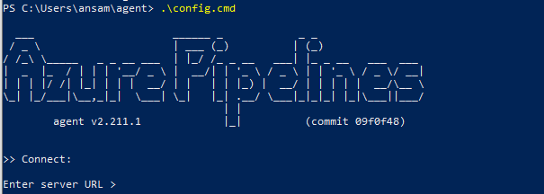
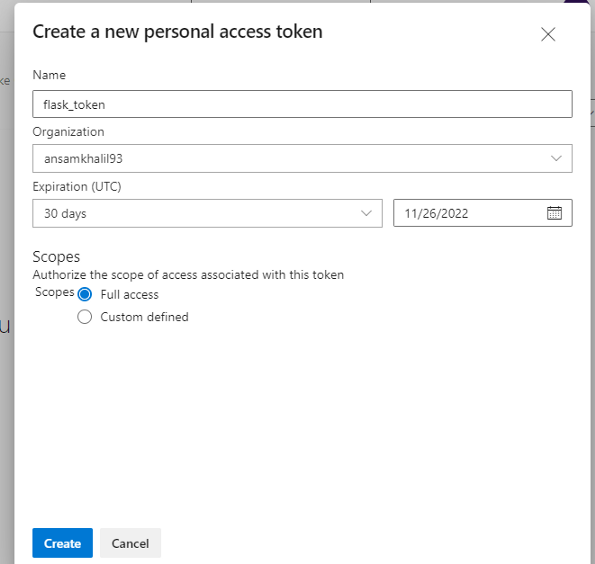
Run the configuration command, which will prompt you for a Personal Access Token (PAT). Press enter first, and then input the PAT as outlined in the following steps.
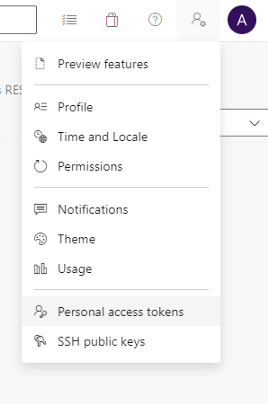
To generate a PAT, go to Azure DevOps and click on User Settings.

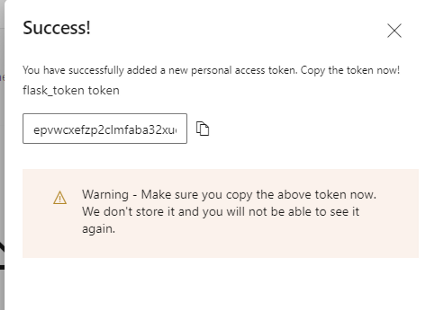
Once created, copy the PAT.

Now, paste the PAT and respond with "N" for the subsequent commands.
Execute the following commands:
Set-ExecutionPolicy -ExecutionPolicy RemoteSigned -Scope CurrentUser
Set-ExecutionPolicy -ExecutionPolicy RemoteSigned -Scope LocalMachine
Finally, execute the command: ./run.cmd. Your machine is now set up to listen for jobs from the pipeline.
You will also need to install Docker Desktop and keep it open while running your pipeline.
Conclusion
I hope you found this information valuable. Feel free to share your thoughts, feedback, or comments. Connect with me on LinkedIn or follow my Medium account to stay updated.
Chapter 2: Video Tutorials
In this section, we will include video resources to help you further understand the setup process.
The first video titled "How to install self-hosted Azure pipeline agent on Windows" provides a detailed walkthrough of the installation process.
The second video, "Setting up and Managing a Self-Hosted Agent in Azure DevOps | AZ-400," offers insights into managing your self-hosted agent effectively.