Create Your Own Cost-Free VPN Server on AWS: A Comprehensive Guide
Written on
Setting Up Your Free VPN Server
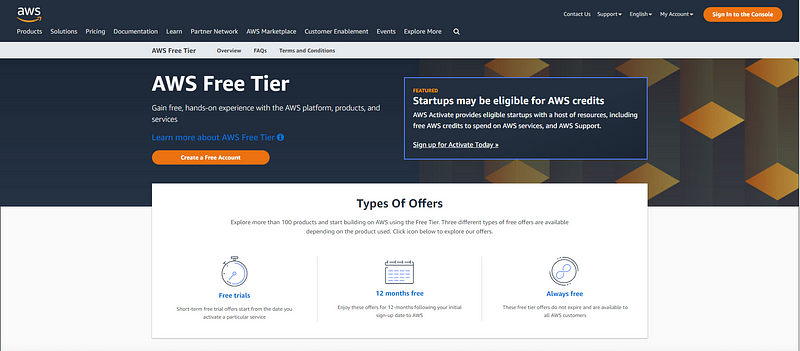
Creating a VPN server on AWS can be done without any cost if you utilize the free tier. To begin, you need to register for a free-tier AWS account. If you haven't done this yet, you can sign up right away at AWS Free Tier. When creating your AWS account, ensure that you also set up a user account, and keep your root credentials secure for safety.

Requirements for Your VPN Server
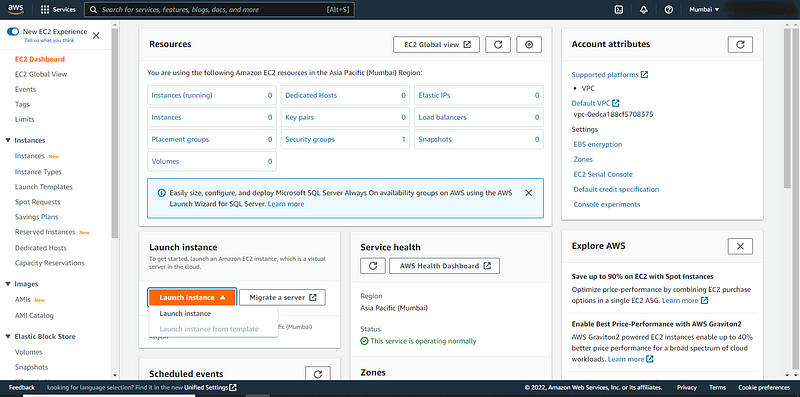
To establish your VPN, log in to your AWS user account and navigate to Dashboard > Services > Compute, then select Elastic Cloud Computing (EC2), which acts as a virtual computer in the cloud.
Steps to Follow:
- If you have specific regional preferences for your VPN server's location, select your desired region from the top right of the AWS console. For demonstration purposes, I'll set up my VPN in the Mumbai region.
- Click on the "Launch Instance" button to begin creating a new EC2 instance.
- In the Name and Tags section, provide a name for your EC2 instance and add any tags if desired (these are optional).
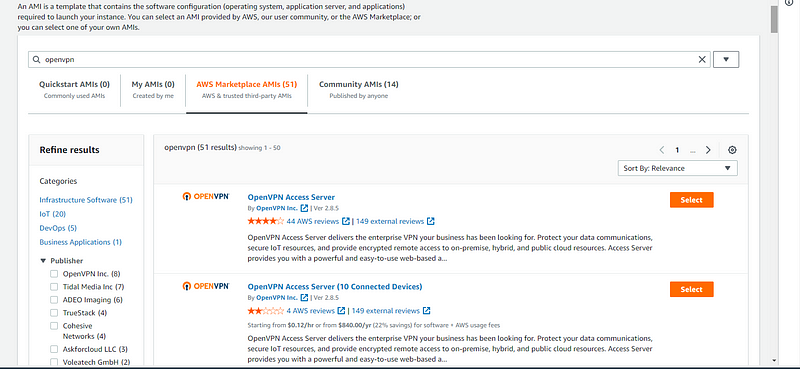
- In the Application and OS Images (Amazon Machine Image) section, search for OpenVPN, click on "Browse more AMIs" > "AWS Marketplace AMIs," select the OpenVPN Access Server, and proceed. Ensure the AMI you choose has no associated costs.
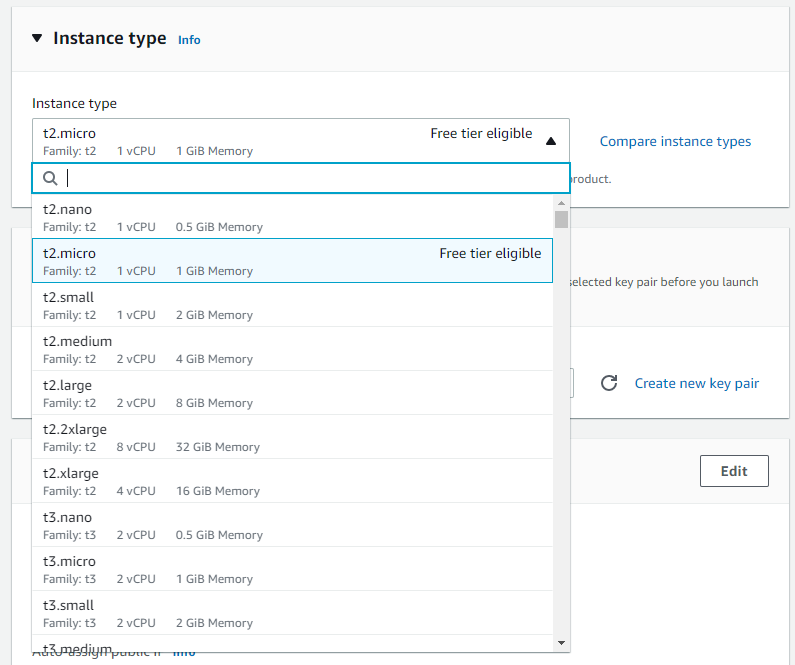
- For the Instance Type, select "t2.micro," which is eligible for the free tier.
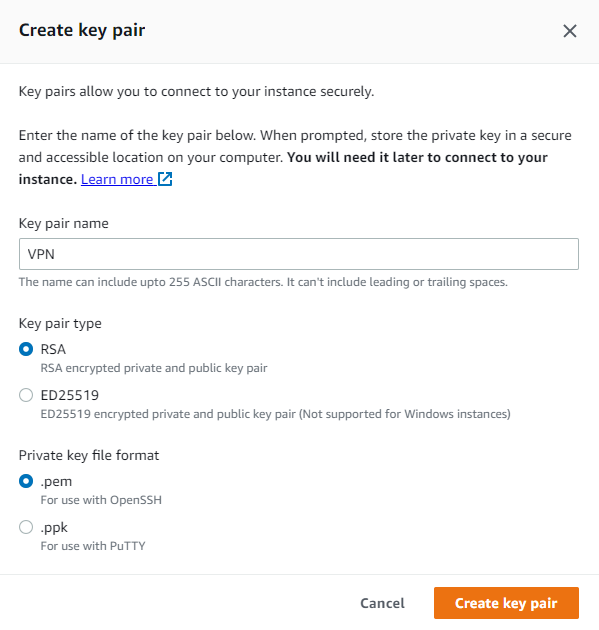
- In the Key Pair (login) section, either use an existing key pair or create a new one by clicking on "Create new key pair," entering a name, selecting RSA, and saving it as a .pem file.
Remember to save this key, as it will be necessary for SSH access to your EC2 instance later.
Configuring Your VPN Instance
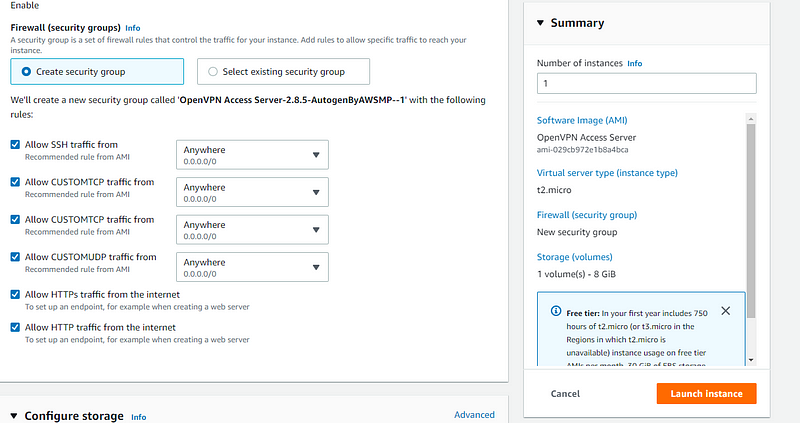
- In the Network Settings section, you can adjust the security group rules if needed, but it's advisable to leave the existing rules as they are.
- In the Configure Storage section, keep the default settings and hit "Launch Instance." Wait for AWS to perform its checks, and your VPN server will be ready.
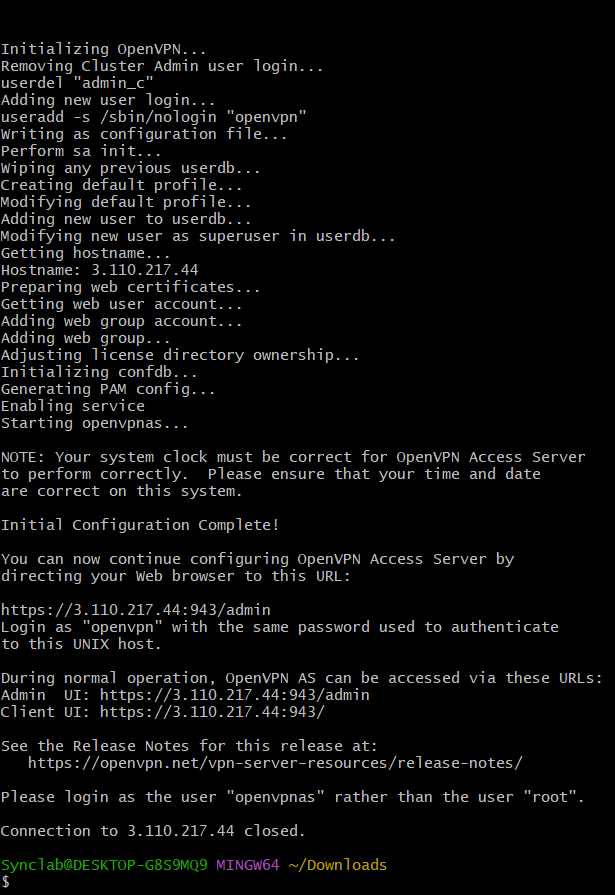
After your server is launched, you will need to set up a user. Open your terminal or Git Bash and SSH into your instance with the following command (ensure you're in the directory where the VPN.pem file is located):
ssh -i ./VPN.pem root@"<public_ip_of_your_EC2>"
Press "yes" and hit enter. Follow the prompts, and you will eventually execute the necessary commands.
Now, repeat the command, changing the username from 'root' to 'openvpnas':
ssh -i ./VPN.pem openvpnas@"<public_ip_of_your_EC2>"
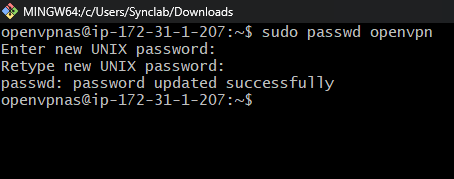
Next, set up a user for the server with:
sudo passwd openvpn
Enter and confirm a new password, and you're set.
Accessing Your VPN Server

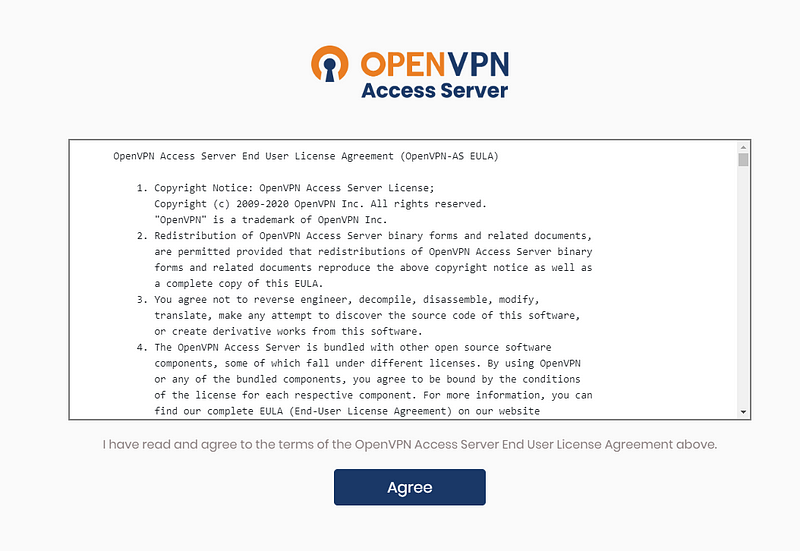
Log in using the username "openvpn" along with the password you just created, and click "Agree."

Next, navigate to VPN Settings under Configuration. The option "Should client Internet traffic be routed through the VPN?" is disabled by default. You must enable it, save your changes, scroll to the top, and select "Update running server."
You can now connect up to two devices simultaneously on this free-tier server.
Connecting to Your VPN
For demonstration, I'll show how to connect using a mobile device. First, download the OpenVPN mobile app. Upon first opening, you will need to import your VPN profile, entering your public IP address.
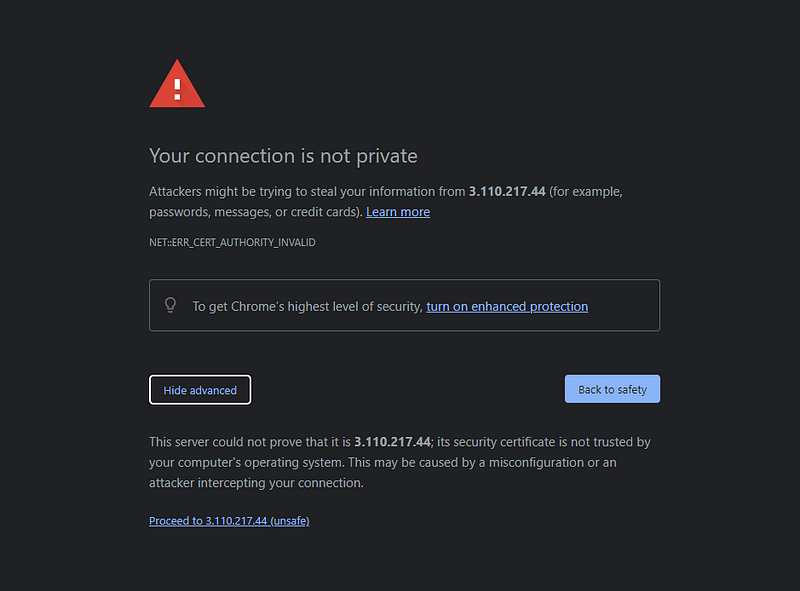
Use "openvpn" as your username and the password you created earlier. Enter "943" in the port section to complete the profile import. Finally, activate your VPN connection.
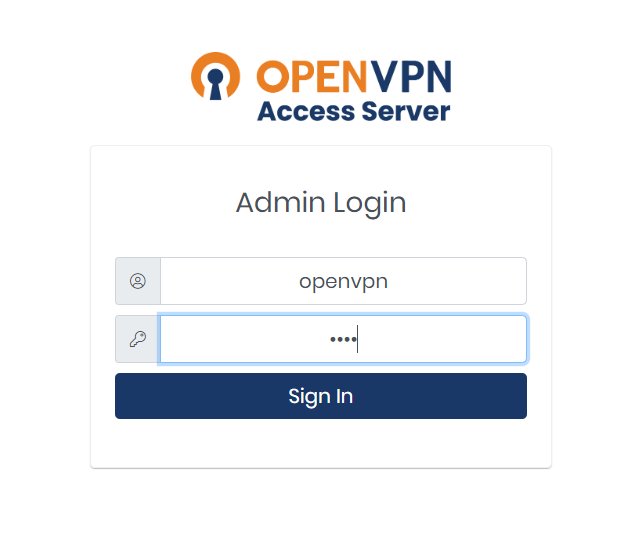
You are now connected securely. To verify your connection, use a browser to search for "show my IP?". Your visible IP should be that of the EC2 instance, and the location will reflect the AWS region you selected.
This setup ensures that your connection remains private and secure, no matter where you are located.
Integrating Useful Video Tutorials
For a more detailed visual guide, check out the following videos:
Your Own Fast VPN Server (Free Forever) Setup Tutorial
This tutorial provides a step-by-step visual process for setting up your own VPN server at no cost.
Make Your Own FREE VPN (Sorry Nord...)
Learn how to create a free VPN server in this informative video.
Conclusion
I hope this guide proves helpful in setting up your free VPN server. You can follow me on Twitter and LinkedIn for more insights on various topics. Thank you for reading, and see you soon!