Unlocking the Power of DreamFusion: Create 3D Art with Text
Written on
Chapter 1: Introduction to DreamFusion
In just a few weeks, Google unveiled its innovative AI model, DreamFusion, which can transform text prompts into 3D objects. The research team from Google and UC Berkeley utilized the Imagen model for image synthesis from text. However, since Imagen isn't publicly accessible yet, you can use the open-source Stable Diffusion (SD) as a viable alternative.
This guide will demonstrate how you can easily experiment with Text-to-3D directly in your browser using a project called Stable DreamFusion. Developed by user ashawkey, this is a Pytorch implementation of DreamFusion, leveraging Stable Diffusion.
To get started, here’s what you’ll need:
- A Google Colab account to access the Stable DreamFusion notebook.
- A Hugging Face account for downloading the SD model.
- A 3D model viewer to preview your creations.
Let’s dive into creating some 3D models!
Go to the Google Colab Notebook to access Stable DreamFusion. The notebook consists of seven steps that you should execute sequentially.
Section 1.1: Step-by-Step Guide
Step #1: Verify Machine Compatibility
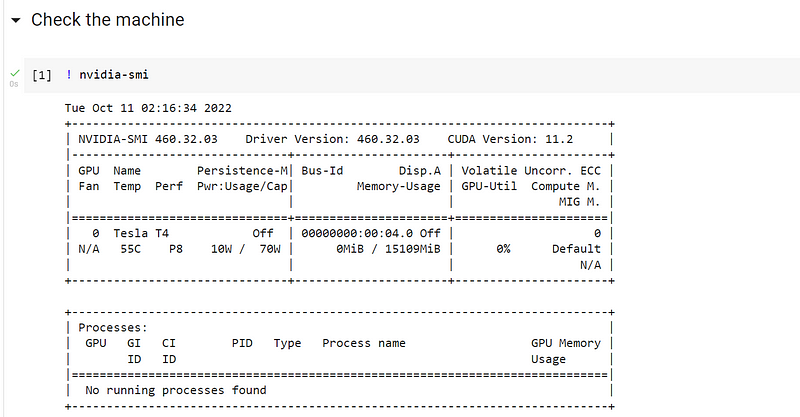
Keep in mind that the speed of the training process relies heavily on the hardware resources you have available. For instance, completing 10,000 training steps may take approximately 3 hours on a V100 setup.
Step #2: Install Required Dependencies
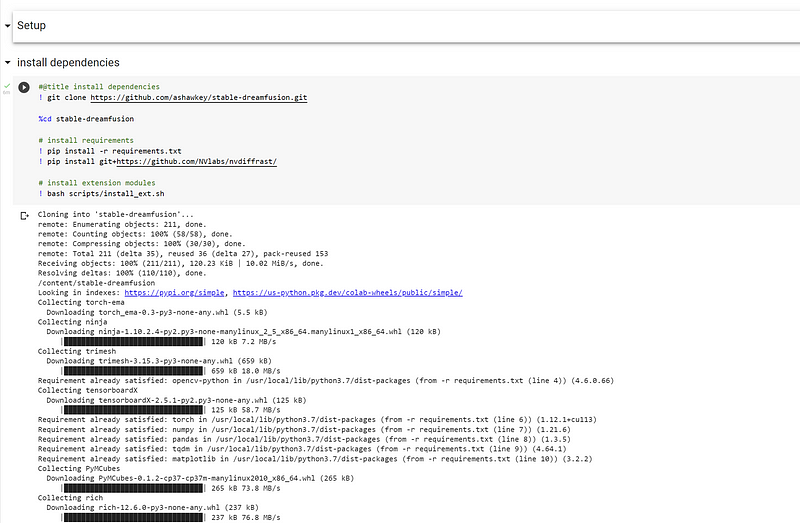
After installation, you should see the relevant files populate on the left side of your dashboard.
Step #3: Obtain the SD Model from Hugging Face
To download Stable Diffusion, create a token on Hugging Face. Navigate to settings, and under the Access Tokens section, select "New Token."
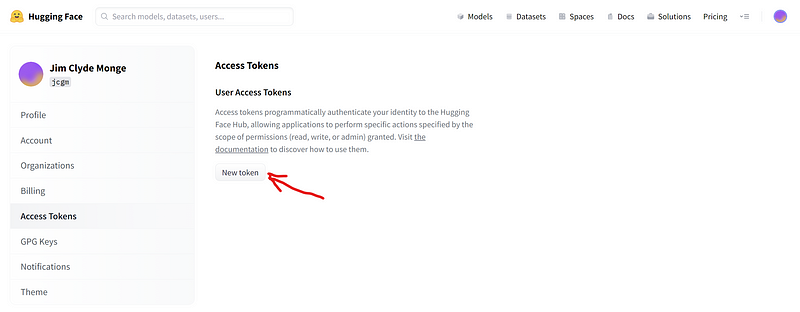
Once you generate the token, copy it and paste it into the designated field.
Step #4: Set Training Parameters
In the Training and Testing stage, input your text prompt and adjust any settings as necessary.
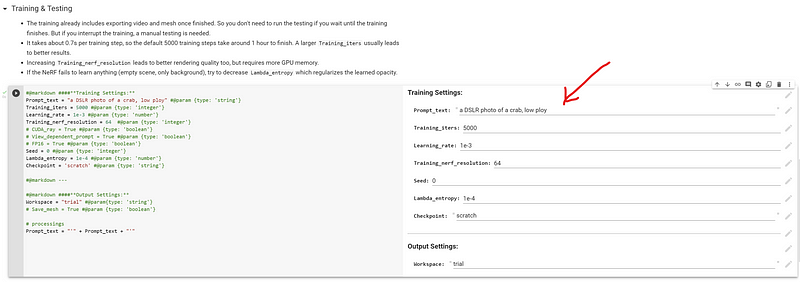
For optimal results, consider increasing the training iterations to around 10,000.
Step #5: Initiate the Training Process
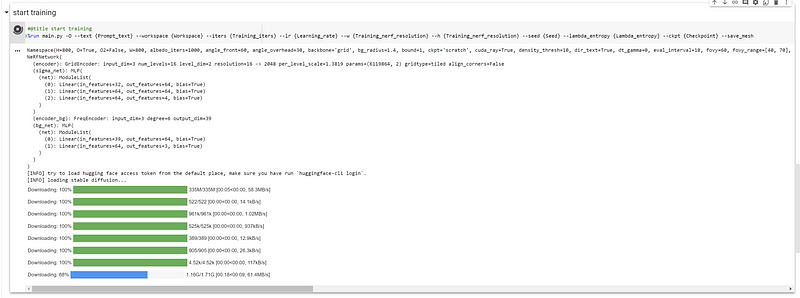
Training might take a considerable amount of time; for me, it took over an hour on the free version of Colab. Use this time to grab a coffee or engage in another activity.
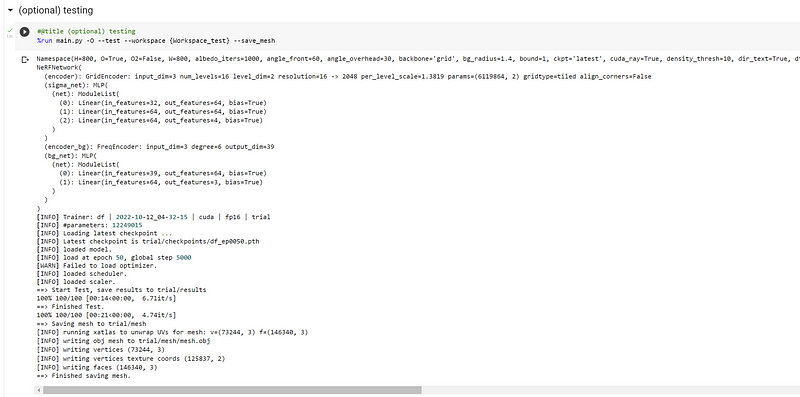
Step #6: Generate Mesh Files
The resulting mesh files will be located under /content/stable-dreamfusion/mesh/mesh.obj. You should find three files: mesh.obj, mesh.mtl, and albedo.png.
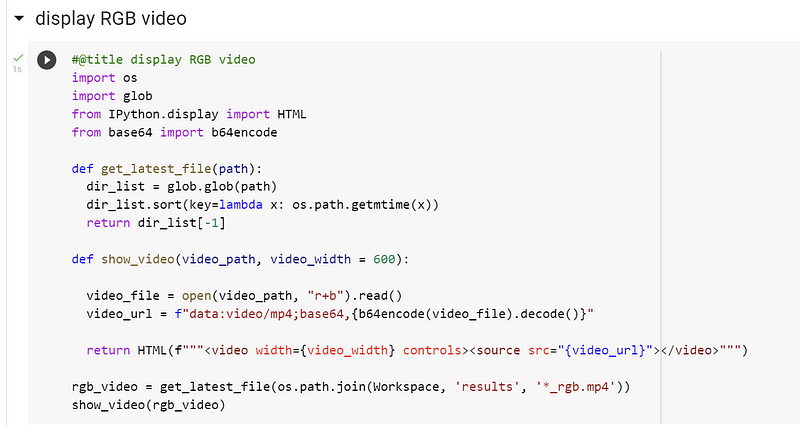
Step #7: Create the RGB Video
This final step involves generating a video, which can be found at /content/stable-dreamfusion/trial/results/df_ep0050_rgb.mp4.
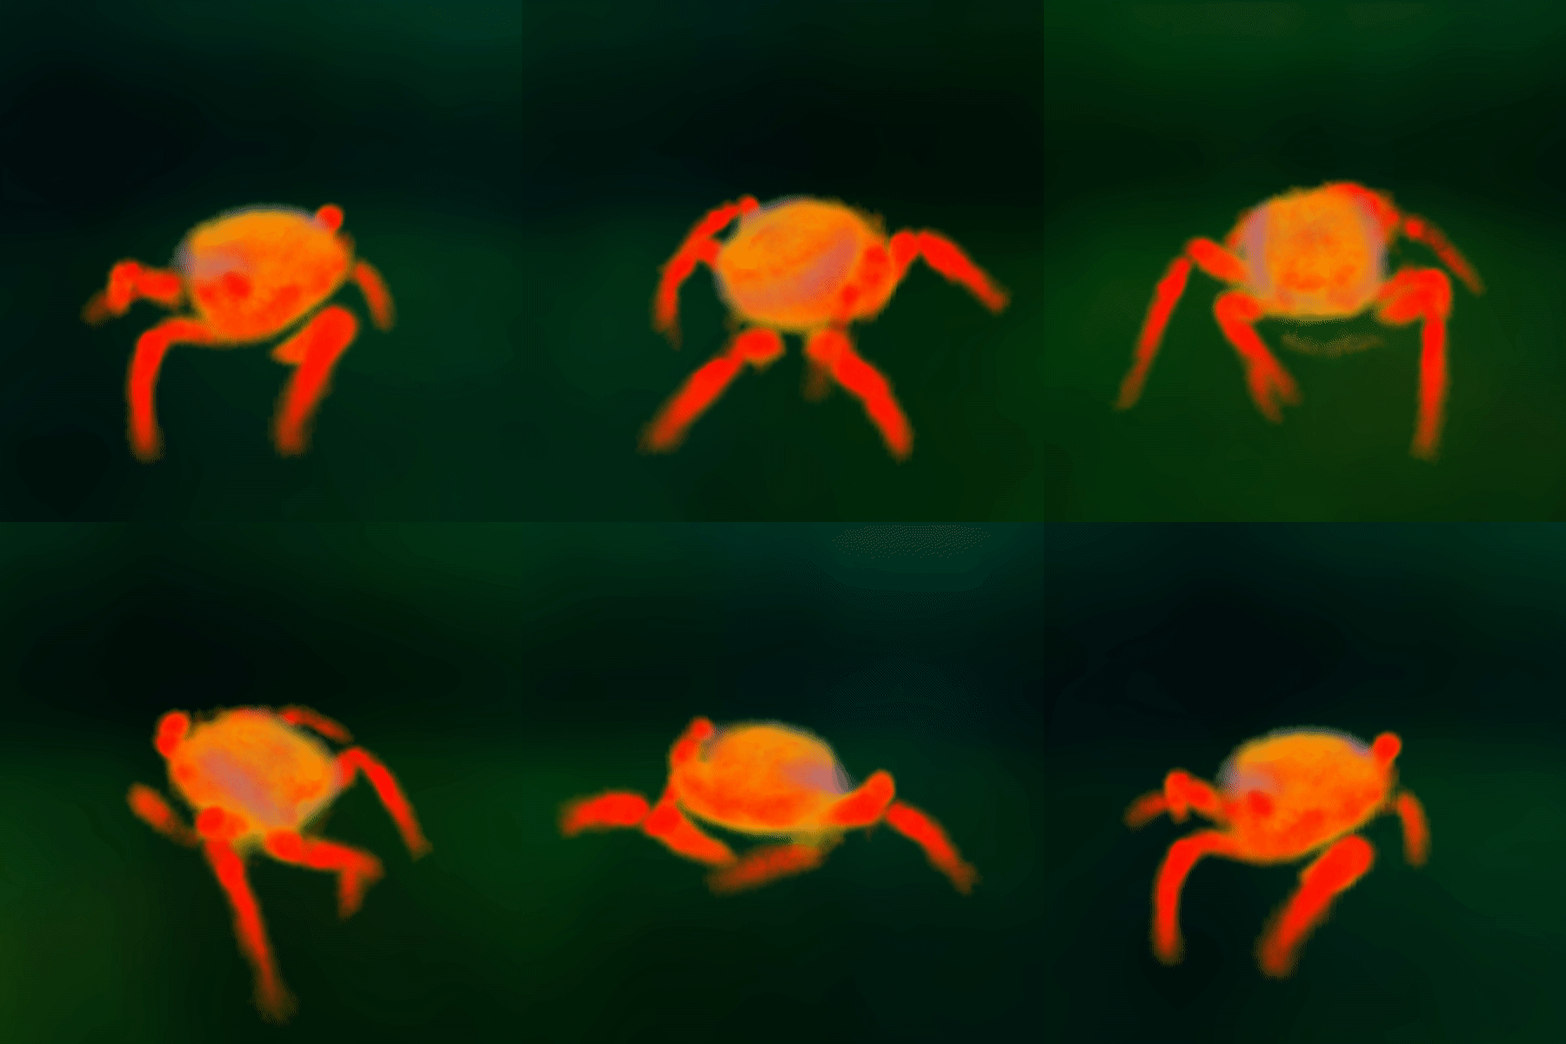
Here’s a sample result featuring our low-poly crab.
Chapter 2: Evaluating the Results
Despite only setting the iterations to 5,000, the output is quite impressive. Upon downloading the mesh.obj file, you can open it in any 3D viewing tool. When I viewed my low-poly crab in Blender, it appeared as follows:
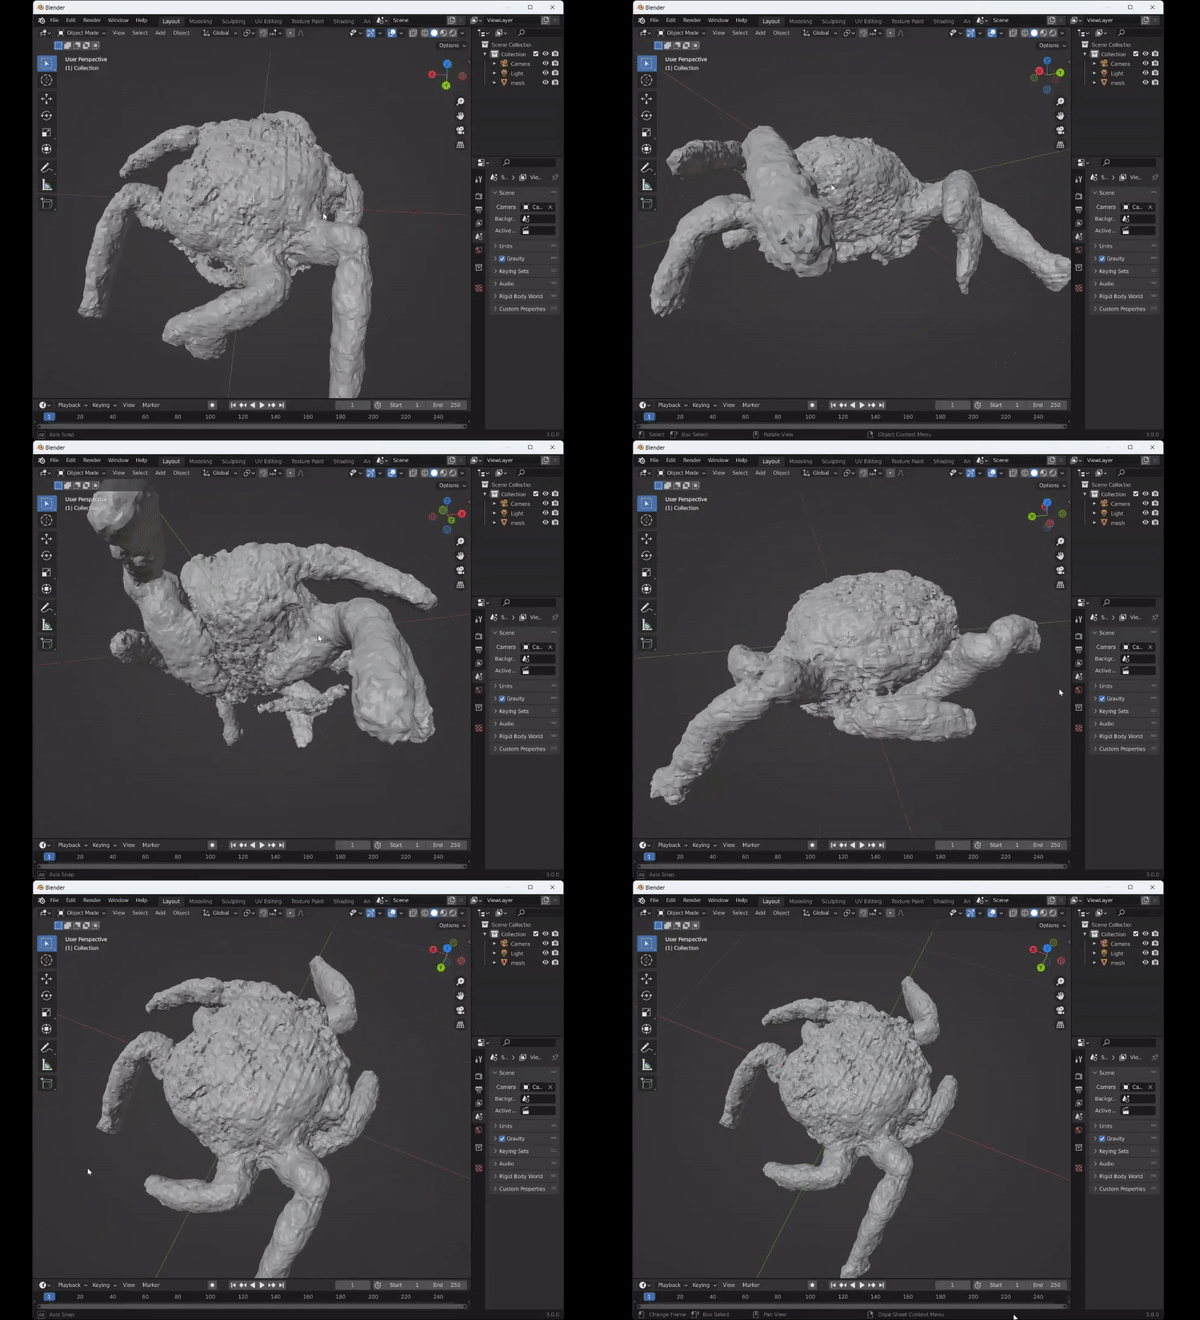
While it may not be perfect, it certainly captures the essential features of a crab, which is a promising outcome.
Final Thoughts
As 3D artists start to embrace the metaverse, the potential of text-to-3D AI will likely become more apparent. Meta has recently introduced the Meta Quest Pro, its inaugural advanced VR headset, indicating a robust virtual reality ecosystem and an increasing demand for digital 3D assets.
While some may be skeptical about AI, it’s vital to recognize it as just another tool at our disposal. When utilized effectively, it can facilitate the creation of extraordinary works that would otherwise be unattainable.
So, let’s welcome the 3D AI revolution!
Explore how DreamFusion transforms text into stunning 3D models in this informative video.
Watch as Dream Fusion A.I. simplifies the process of creating 3D art from text prompts.